Step-by-Step Guide: Creating an Instance from a Snapshot
Quick Guide to Making an Instance from a Snapshot
Published
•1 min read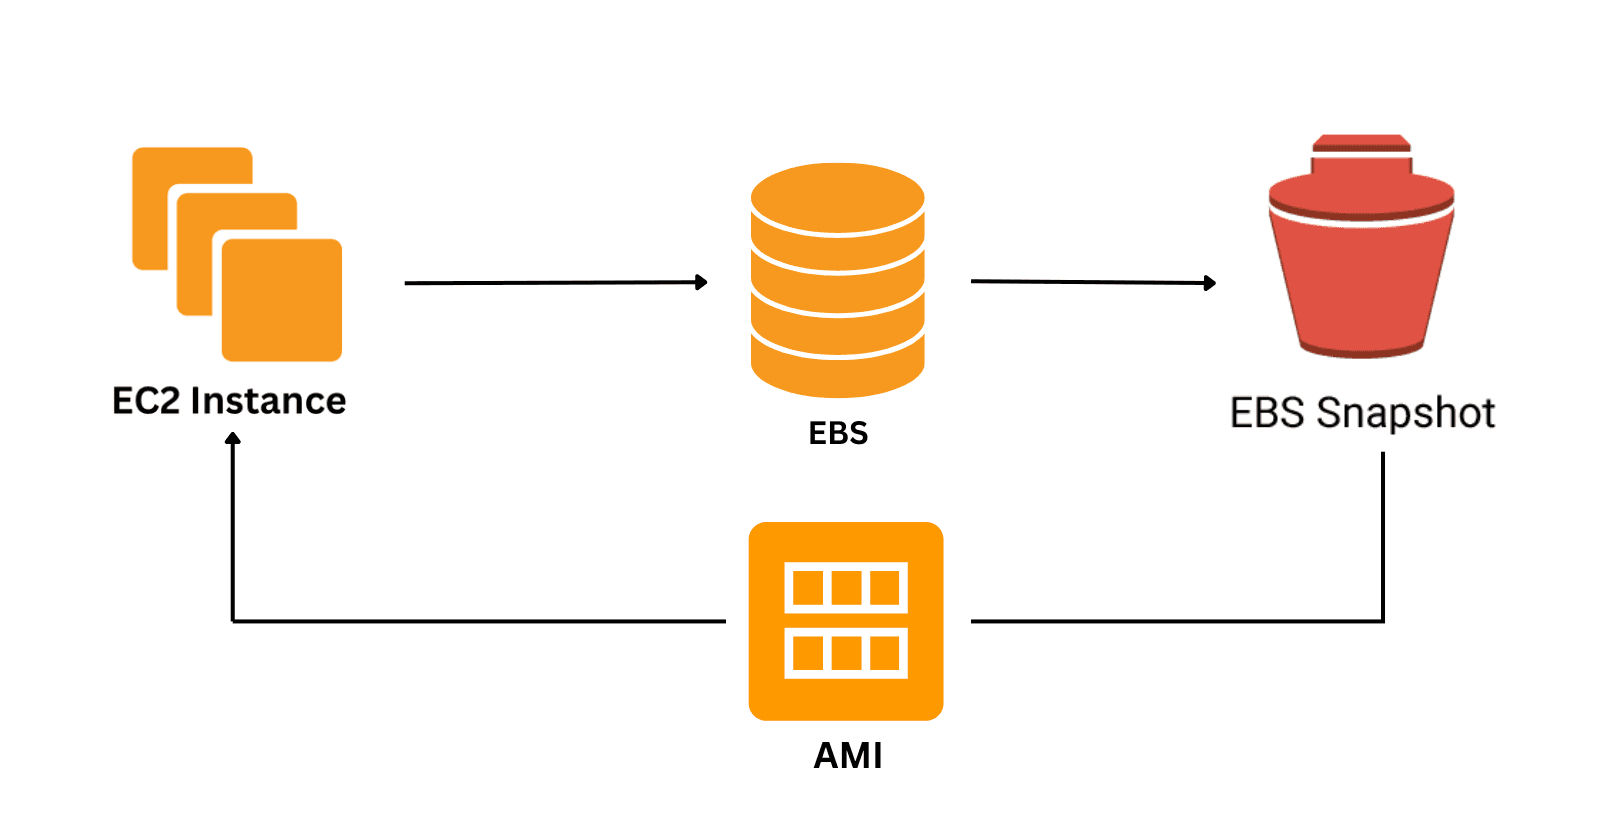
A
Associate Software Developer with experience building scalable, production-grade systems and backend services. Strong foundation in data structures, system design, and core computer science concepts, with a passion for learning new technologies and sharing practical engineering knowledge through writing.
Open the AWS Management Console and navigate to the EC2 dashboard.
In the left navigation panel, choose Snapshots under the Elastic Block Store section.
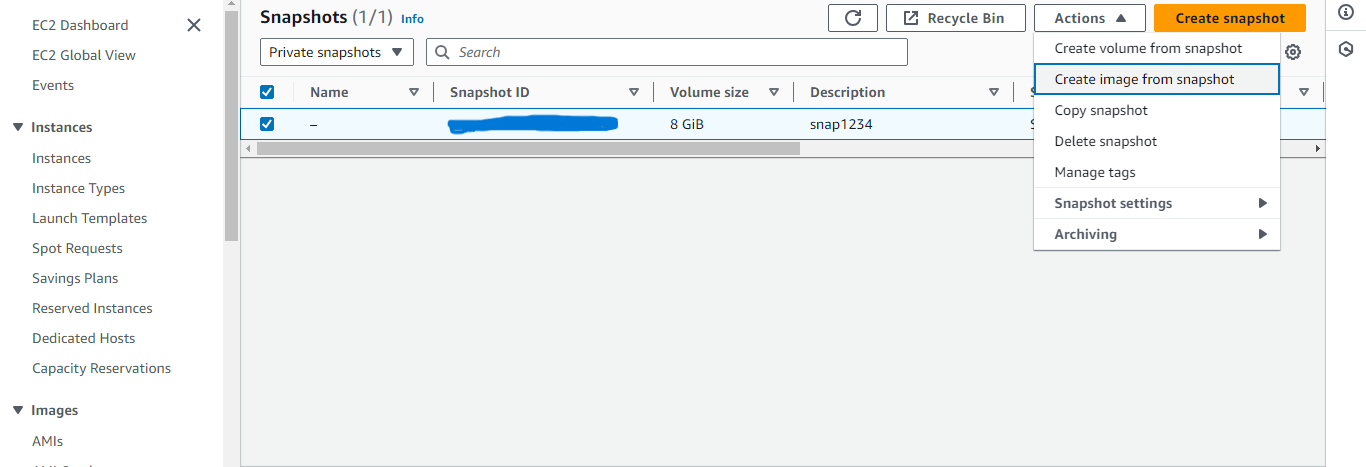
Select the snapshot from which you want to launch the instance.
Go to Action -> Create image from snapshot.
Write a suitable image name.
Scroll down and click Create image.
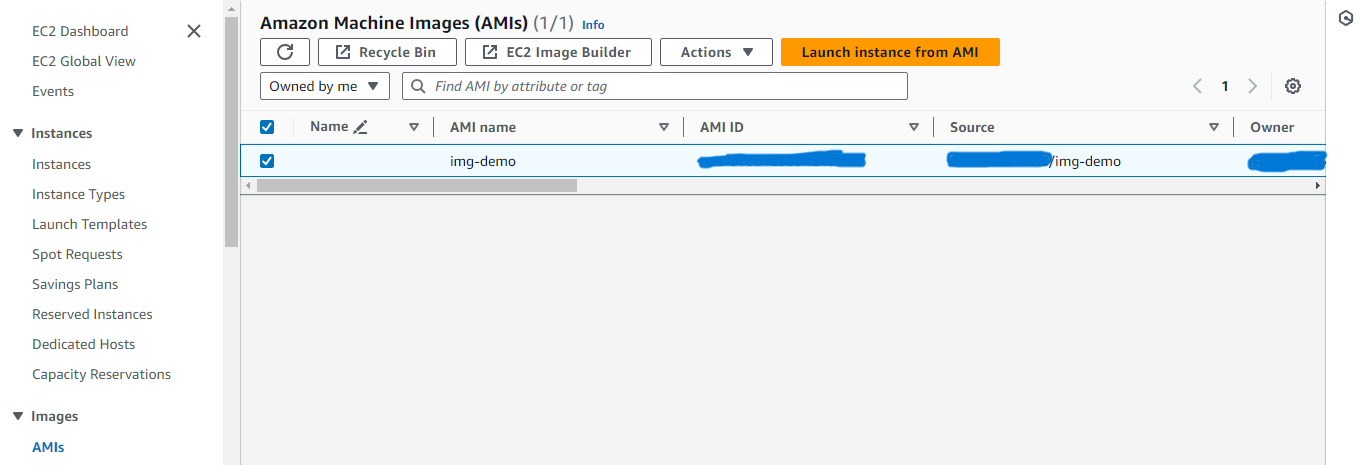
In the left navigation panel, choose AMIs under the Images.
Select the newly created image.
Click on Launch instance from AMI.
Write a suitable instance name.
Scroll down and select the key pair.
Click Launch Instance.
In the left navigation panel, choose Instances under the Instances, here you can find the newly created instance.