Step by Step process of how to add and initialize EBS Volume on Windows EC2 Instance
Step by Step process of how to add and mount EBS Volume on Ubuntu EC2 Linux Instance
Step 1: Creating a volume
Open the AWS Management Console and navigate to the EC2 dashboard.
In the left navigation panel, choose Volumes under the Elastic Block Store section.
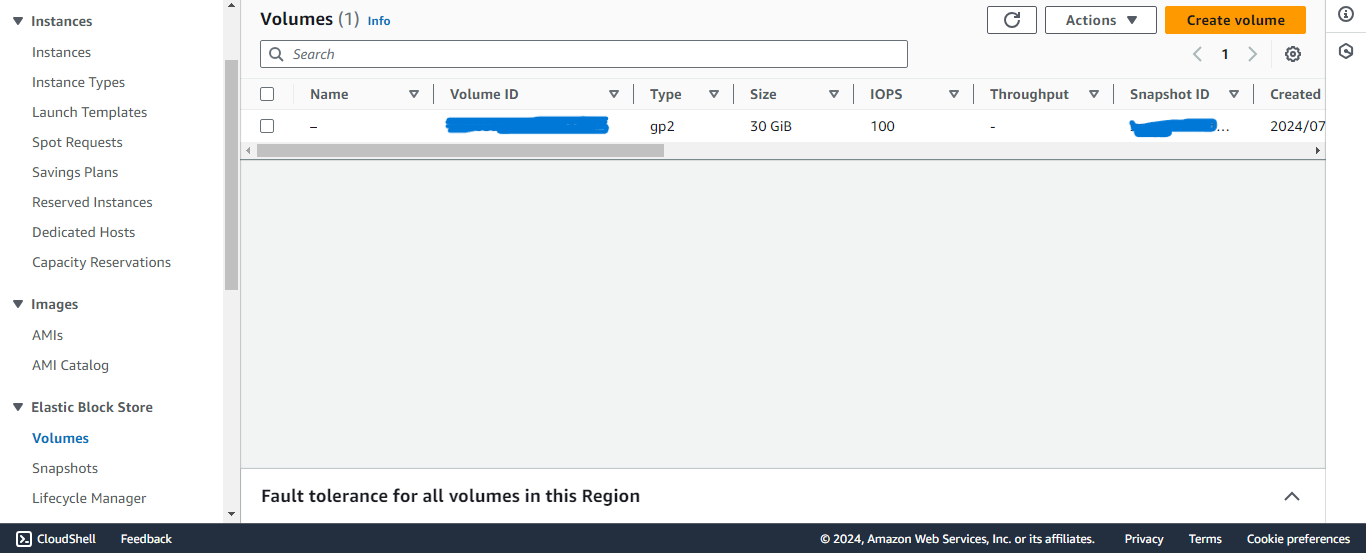
Take note of existing Volumes.
Click on Create Volume.
Choose the volume type as General Purpose SSD (gp2).
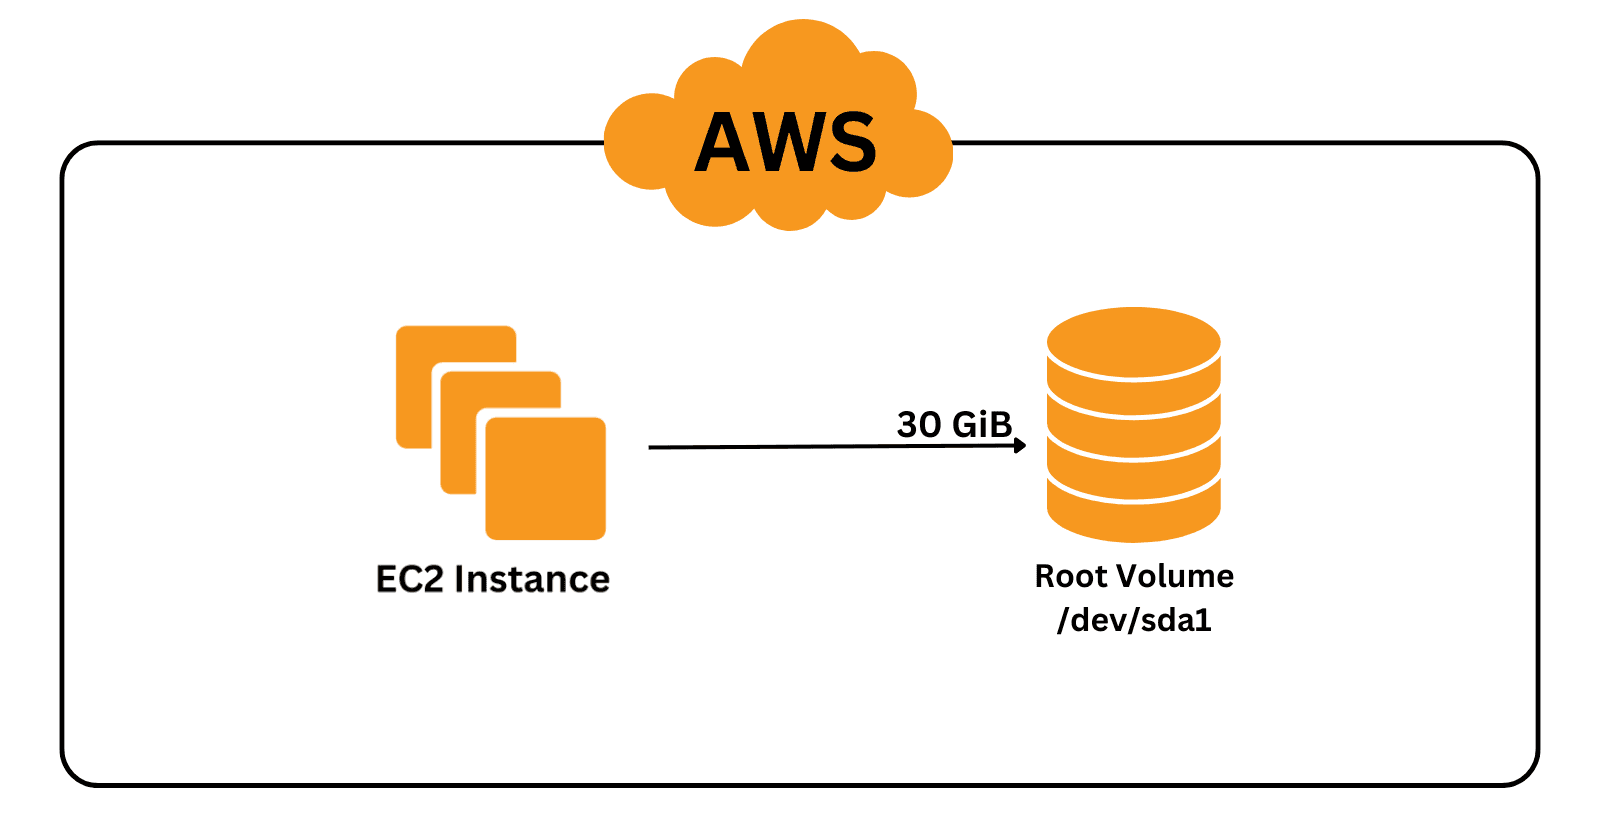
Set Size to 30GiB.
Select the availability zome same as the availability zome as the instance with which you want to attach this volume.
Scroll down and click Create Volume.
Step 2: Attach the volume to the instance
Select the volume, then click Actions -> Attach volume.

Select the instance in which you want to add the volume.
Select the device name xvdb,if you are attaching the root volume then select /dev/sda1.
Click on Attach volume.
Step 3: Connect to EC2 instance
In the left navigation panel, choose Instances under the Instances section.
Select the instance in which you have attached the volume.
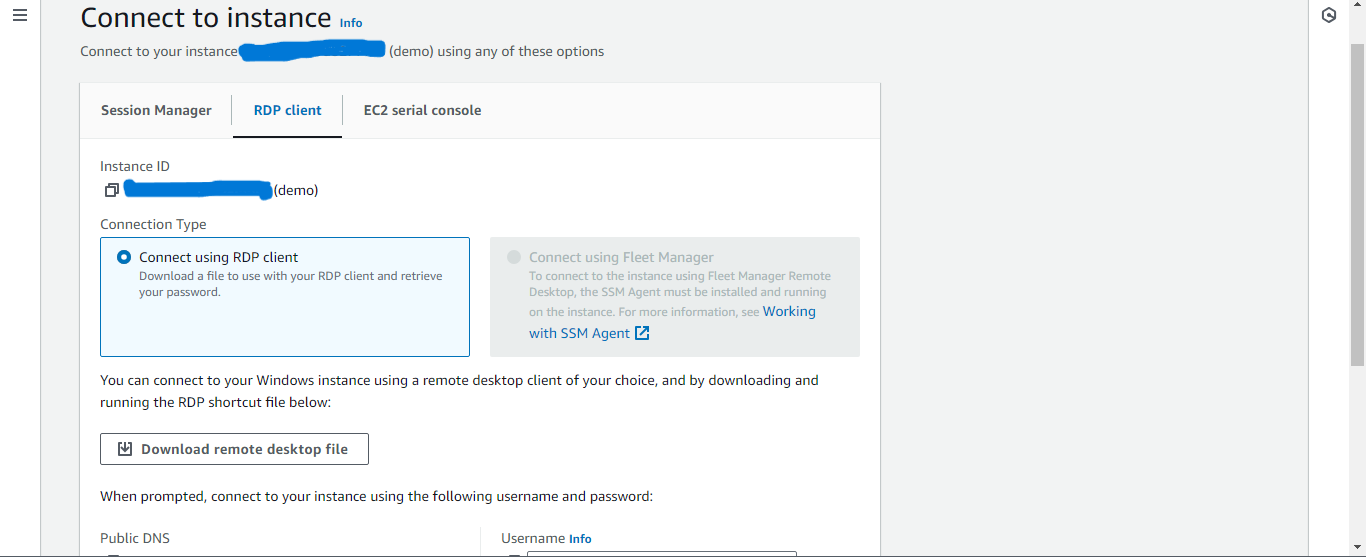
Click on Connect.
Go to RDP client.
Scroll and click on Get password.
Click on Upload private key file and Upload the private key you choose while creating this instance.
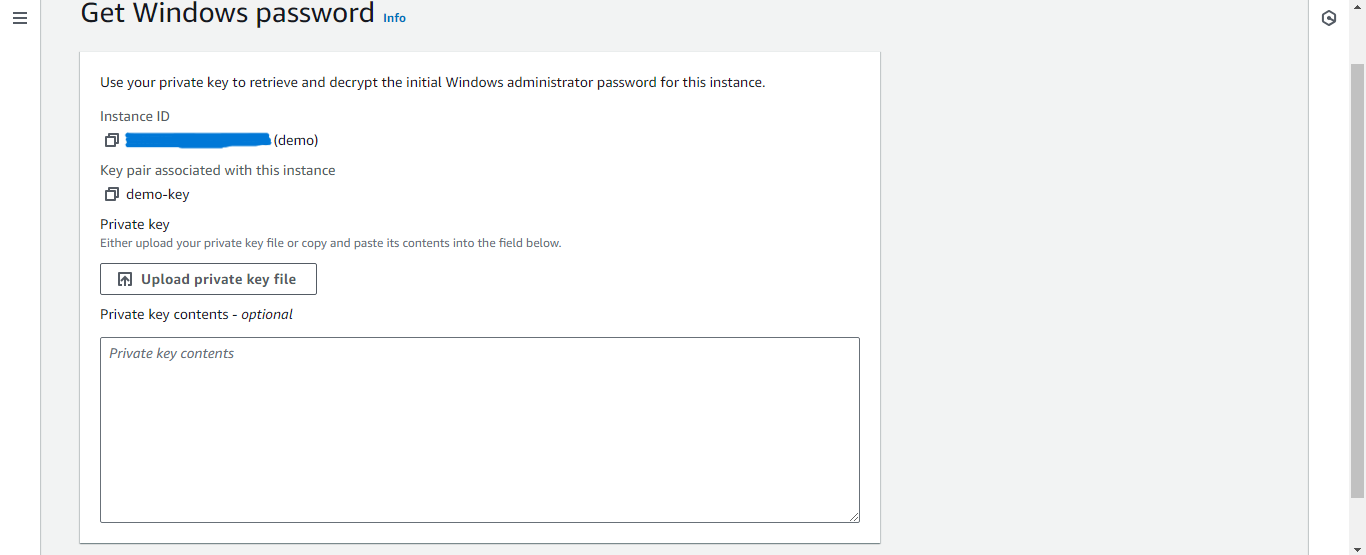
Click on Decrypt password.
A password will appear under the RDP client copy this password.
Click on Download remote desktop file.
Open this .rdp file.
Click Connect -> Paste the password -> Click OK -> Click Yes.
The remote desktop will open up.
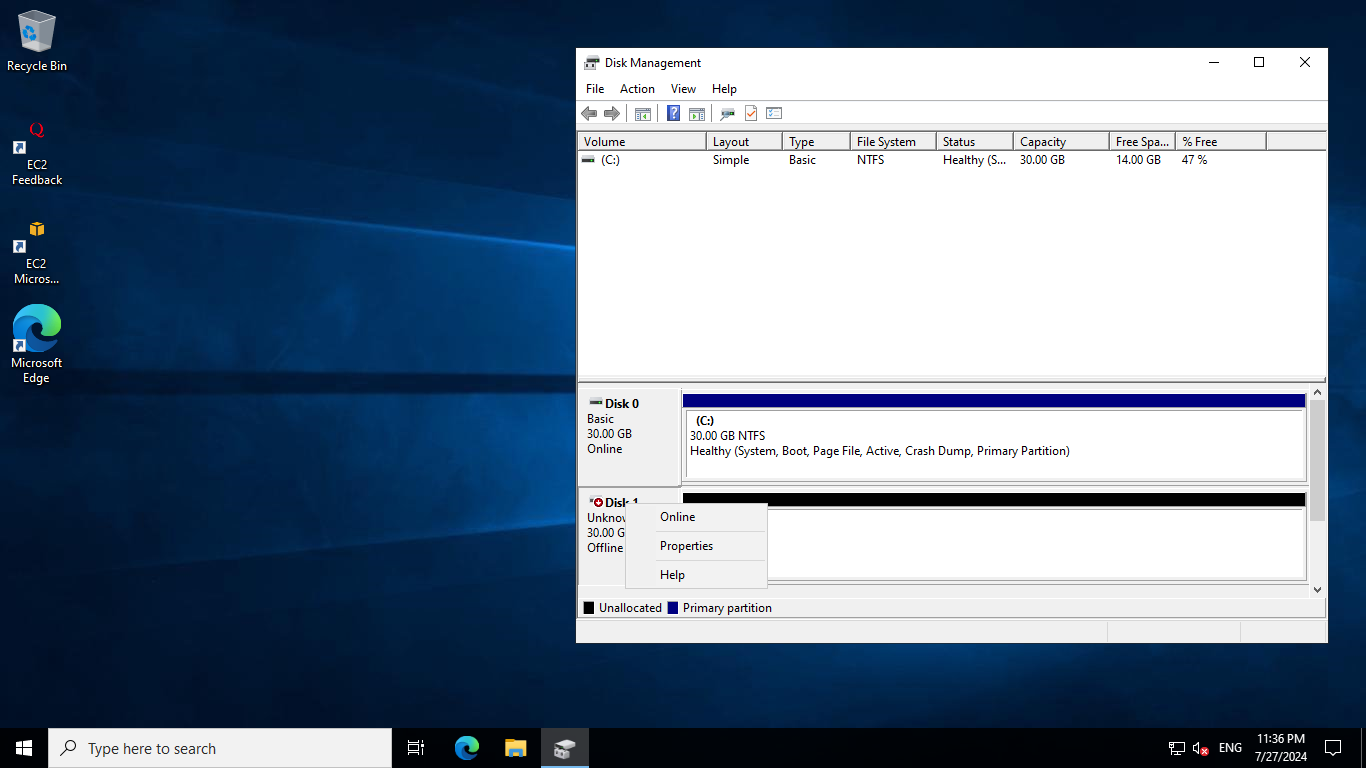
Step 4: Making the disk online and initializing it
Press Ctrl + r.
Type diskmgmt.msc and press enter.
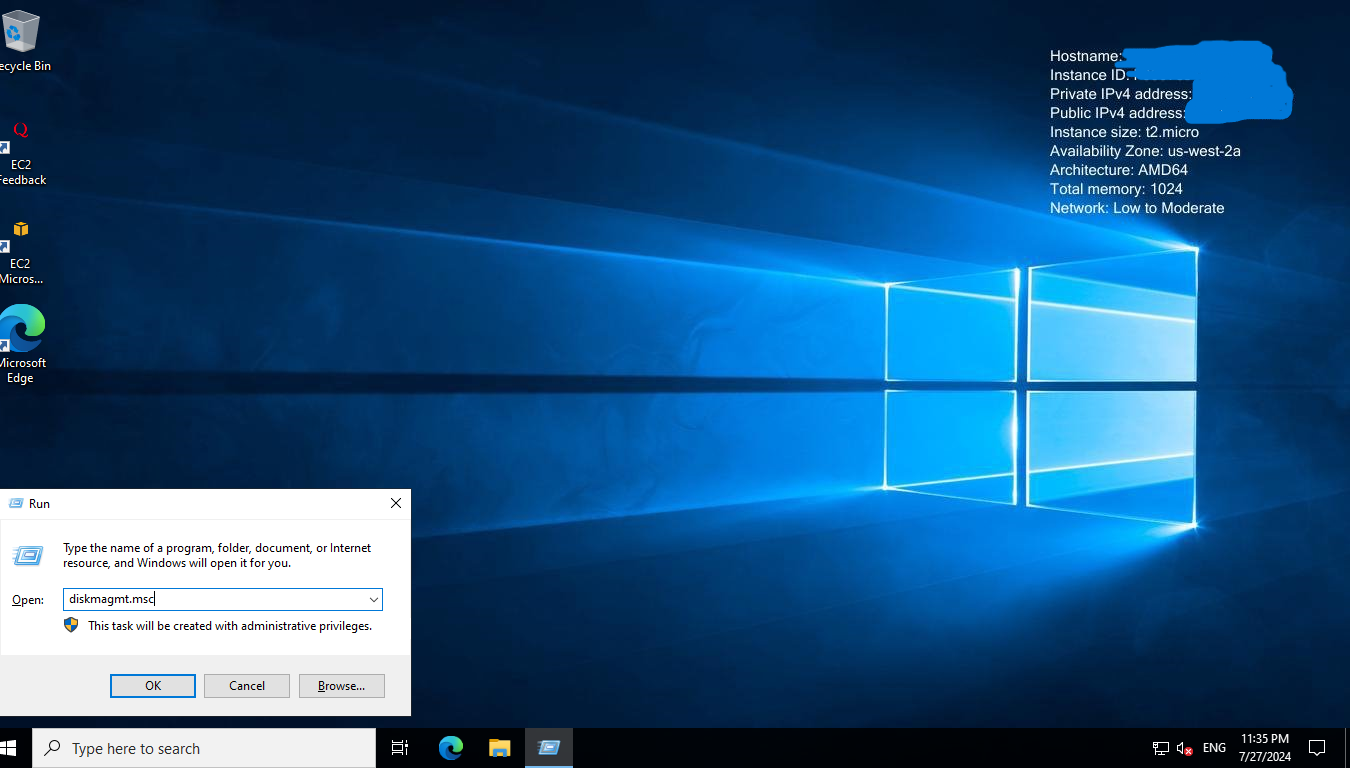
Right-click on Disk 1 then click Online.
Right-click on Disk 1 again then click Initialize Disk -> OK. If this disk is already initialized then this step will be skipped.
Now right-click on unallocated then click New Simple volume -> Next -> Next -> Next -> Next -> Finish.
Open File Explorer then This PC.
You check a new drive New Volume(D:).
You can create a text file on this drive to check its working.
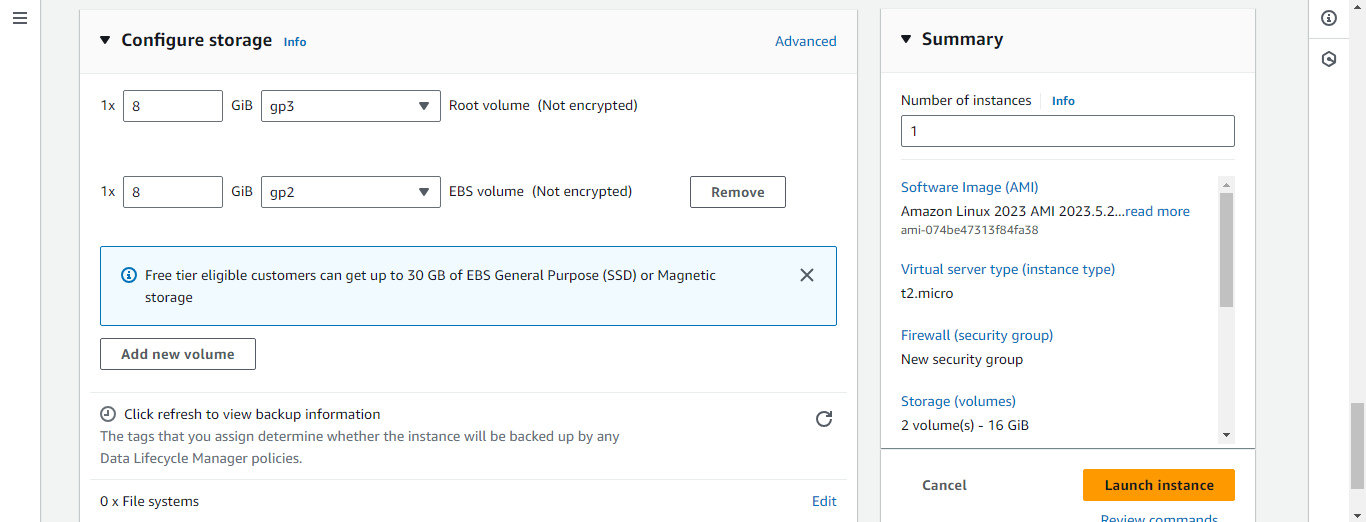
NOTE: You can also add volume to the instance during the creation of instance by using Add Volume under Configure storage.