Understanding Versioning for Amazon S3 Buckets
How Versioning Works in Amazon S3 Buckets

Open the AWS Management Console and navigate to the S3 dashboard.
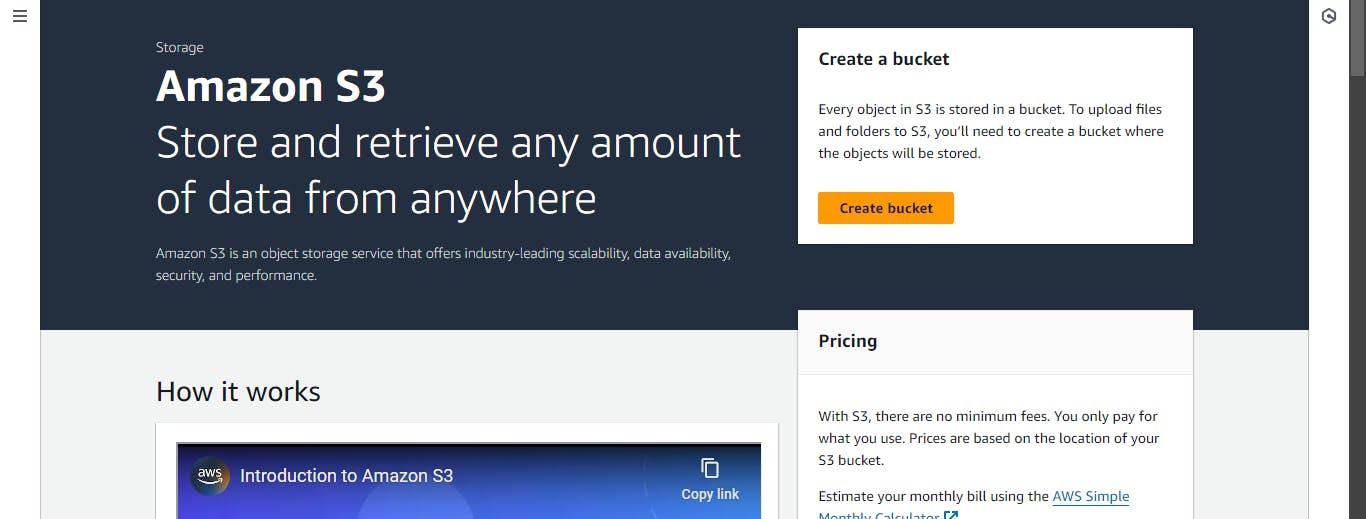
Click Create bucket.
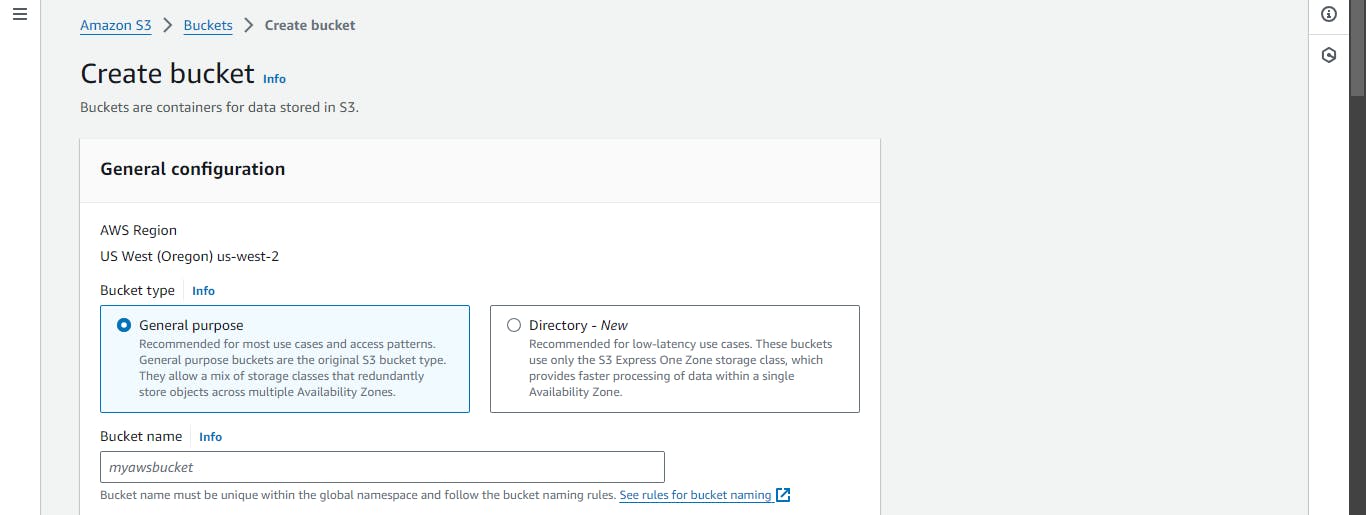
Select General purpose bucket type.
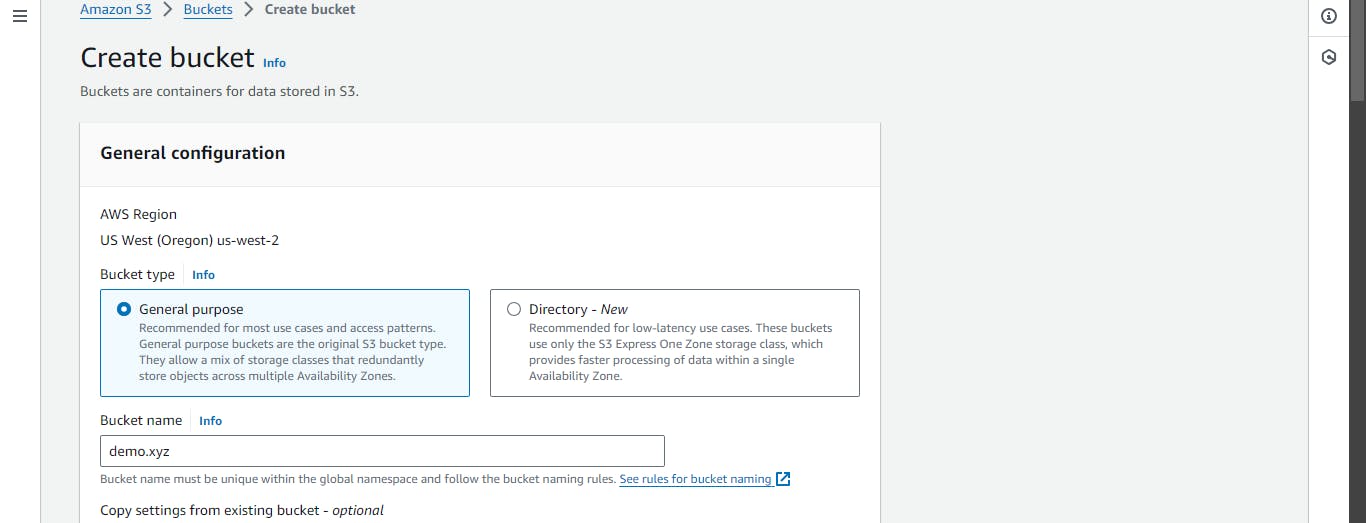
Write a bucket name, this name must be globally unique.
Select ACLs enabledObject Ownership.
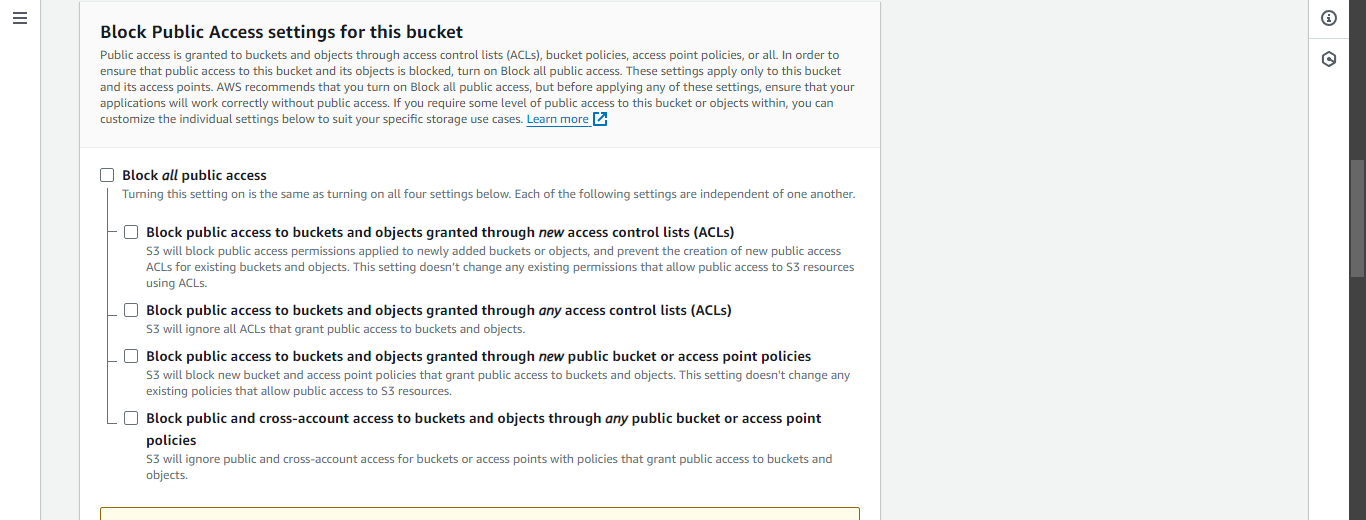
Uncheck Block all public access -> Check the Acknowledgement.
Enable Bucket Versioning.
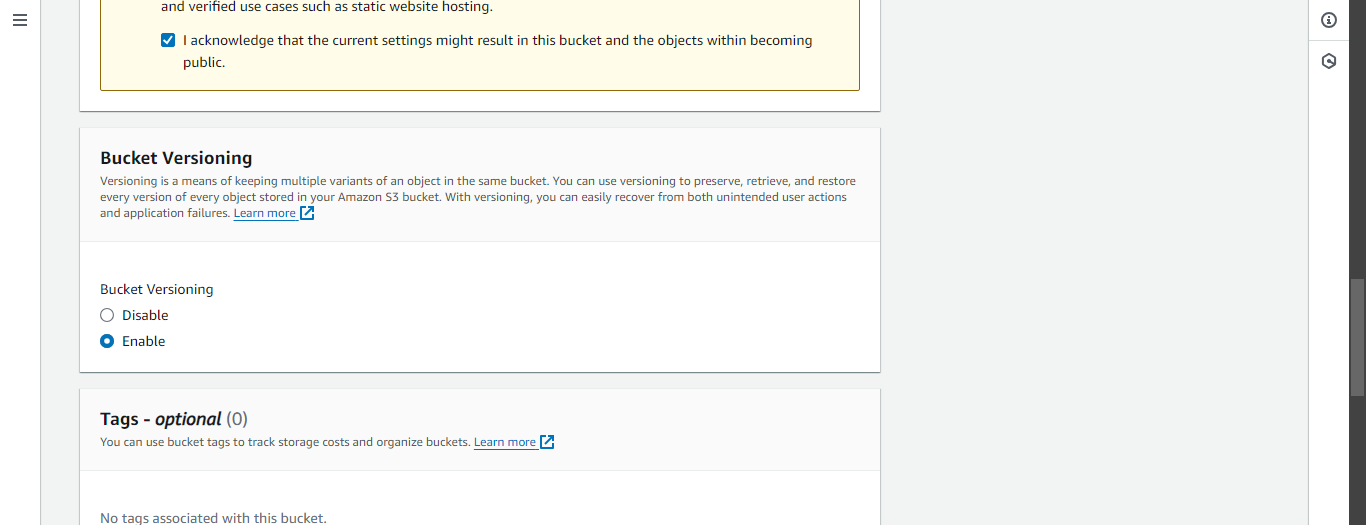
Click Create bucket.
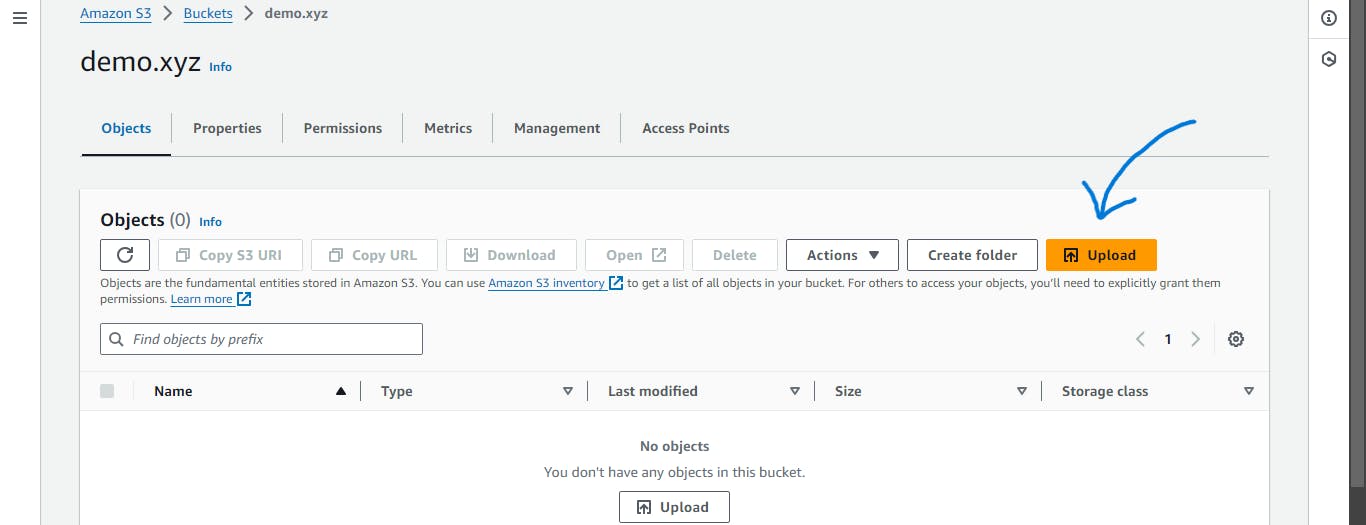
Open the newly created bucket by clicking on its name.
Click Upload.
Now click on Add files.
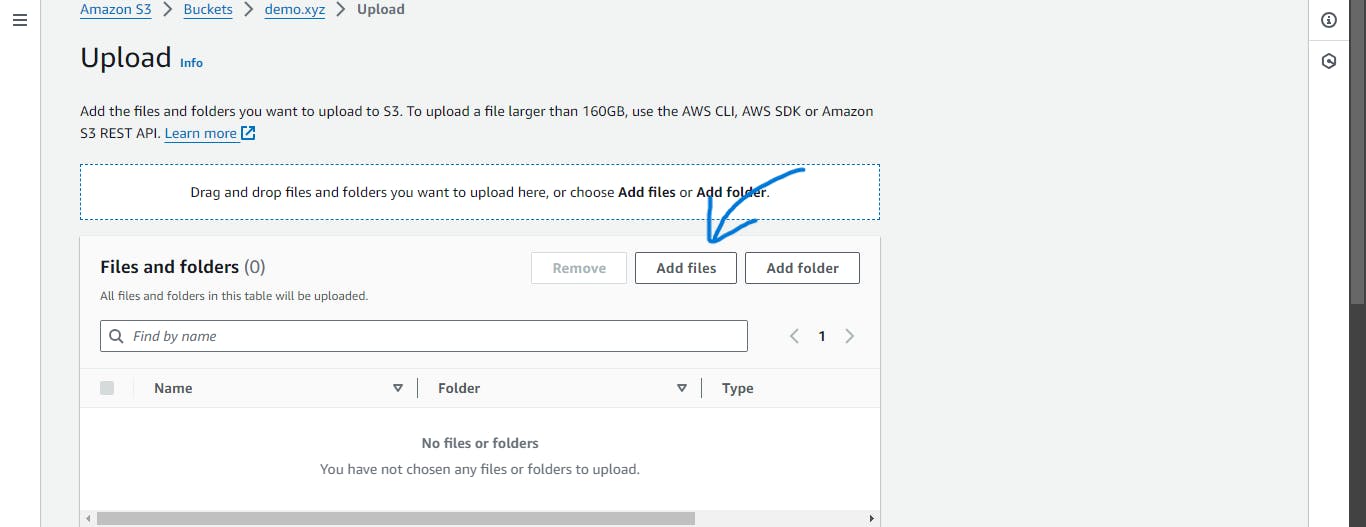
Select any file you want to upload, preferably a text file.
Scroll and click Upload.
Select the object -> Actions -> Make public ACL -> Make Public.
Now select the object -> Copy URL -> Paste it into another tab, and the file should open.
Select the file -> Delete -> type "delete" -> Click Delete objects.
Now enable Show versions. Now you'll be able to see the deleted text file and the Delete Marker. If this delete marker is deleted then the text file can be recovered.
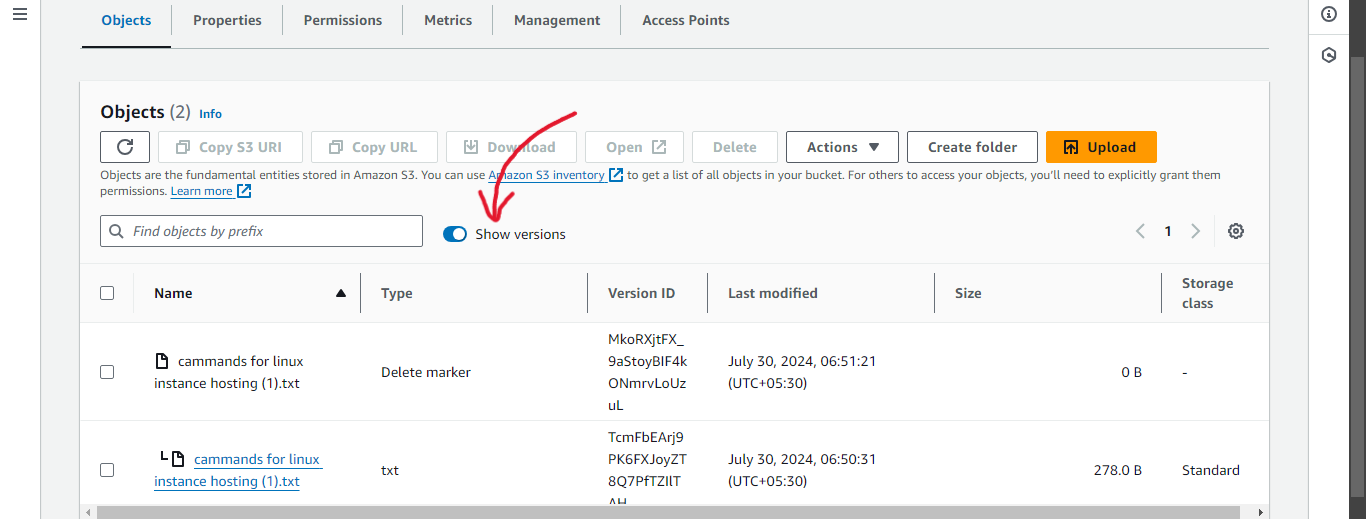
Select the delete marker -> Delete -> type "permanently delete" -> Click Delete Objects.
Disable the Show version. You will see the text file is recovered. To delete the file permanently, delete the text file while Show versions is enabled before deleting the marker.
Note: Deleting anything while Show versions is enabled will result in permanent deletion.
Now open this text file on your computer and make a few changes to it.
Now upload the file again. The file will be updated.
Select the object -> Actions -> Make public ACL -> Make Public.
Now select the object -> Copy URL -> Paste it into another tab, and the file should open. You can see the changes made.
Now enable the Show version, and you'll see the same file name two times, the one with 'L' is the old file and the other one is the new file.
Delete the file without 'L'.
Disable the show version.
Now select the object -> Copy URL -> Paste it into another tab, and the file should open. You'll see that the older version of the file.
To delete the object, select the object ->Click Delete -> type permanently delete -> Click Delete Objects.
To delete the bucket, select the bucket -> Click Delete -> type the bucket name -> Click Delete bucket.