Easy Steps to Create a Reliable Application Load Balancer
Easy-to-Follow Instructions for a Reliable Application Load Balancer
Introduction
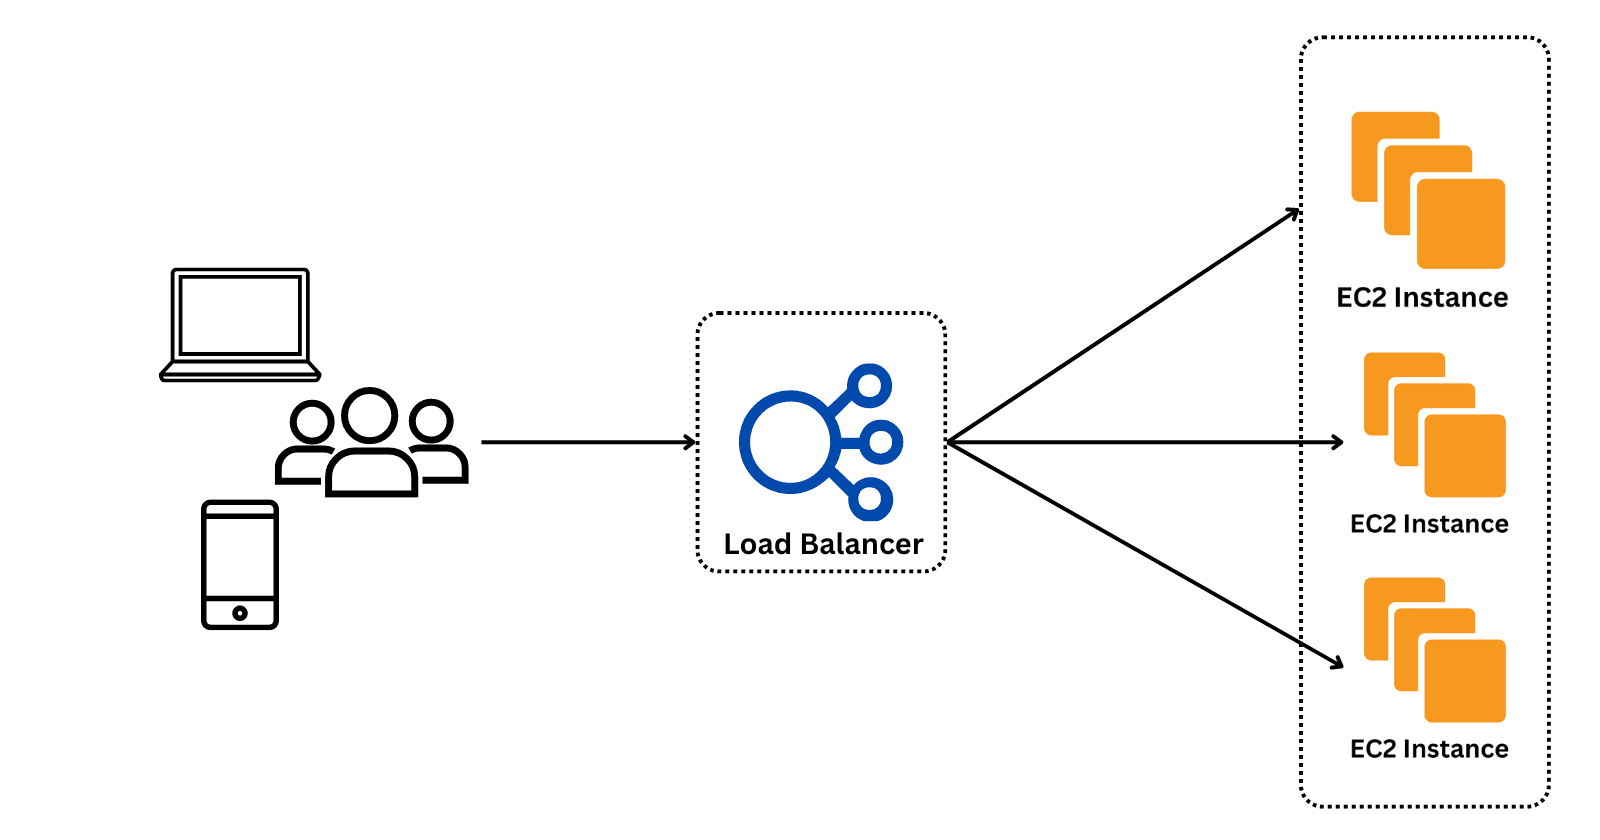
Load balancing is the method of distributing network traffic equally across a pool of resources that support an application. Modern applications must process millions of users simultaneously and return the correct text, videos, images, and other data to each user in a fast and reliable manner. To handle such high volumes of traffic, most applications have many resource servers with duplicate data between them. A load balancer is a device that sits between the user and the server group and acts as an invisible facilitator, ensuring that all resource servers are used equally.
Steps to create an application load balancer
Open the AWS Management Console and navigate to the EC2 dashboard.
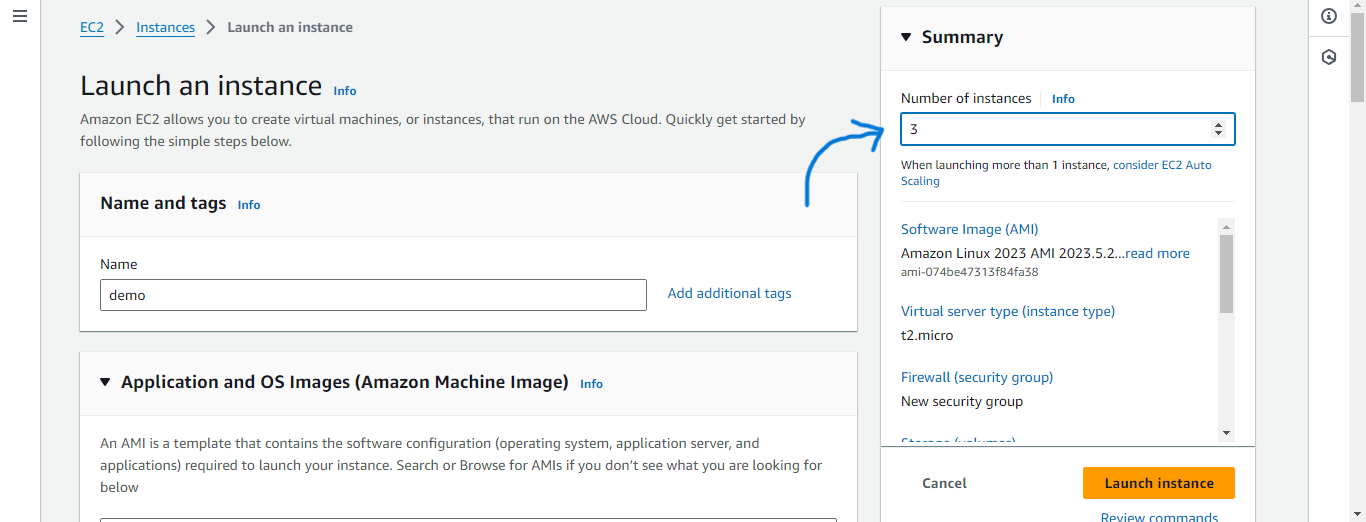
Create an instance and host a website, you can use an EC2 instance with Windows or an EC2 instance with Linux.
NOTE: While launching the instance, increase the number of instances to the desired amount.
Connect to each of these instances and host the website.
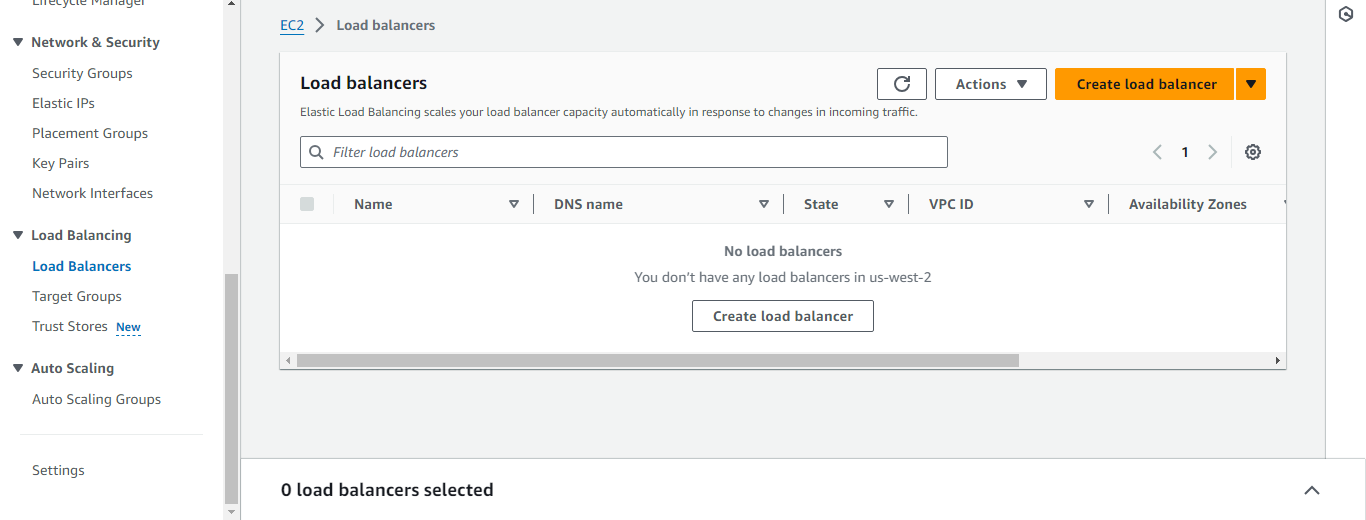
In the left navigation panel, choose Load Balancers under Load Balancing.
Click on Create load balancer.
Under Application Load Balancer click Create.
Give a suitable Load balancer name.
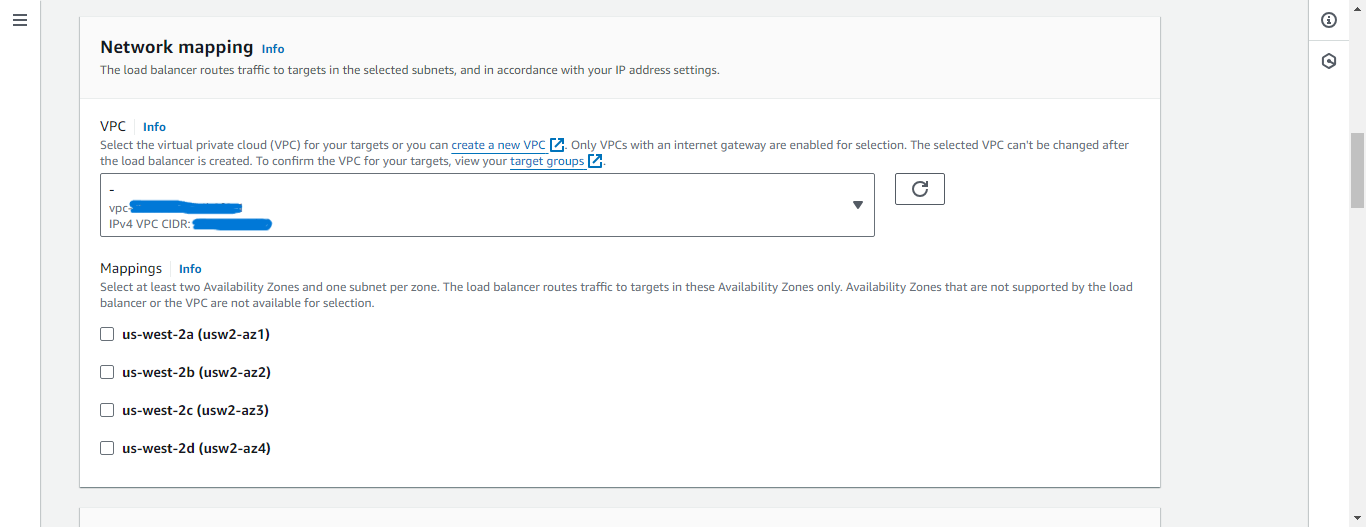
Select the desired Availability Zone under Mappings.
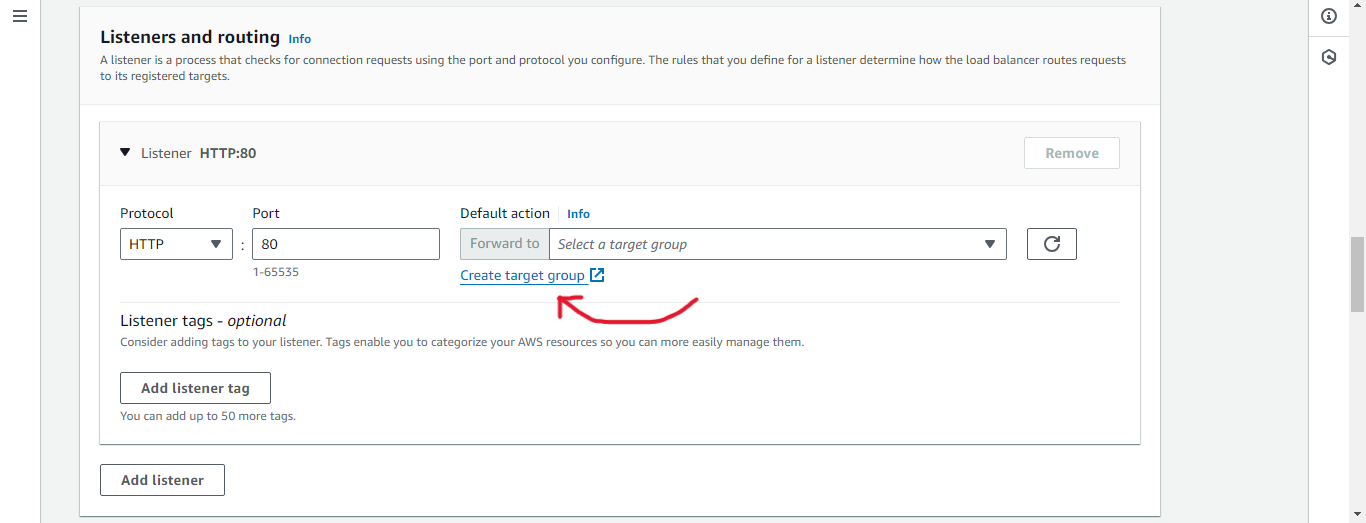
Under Listeners and routing click Create target group. A new tab will open up.
Choose a target type, Instances.
Type a suitable Target group name.
Click Next.
Select the instances with which you want to make a load balancer.
Scroll and click on Include as pending below.
Click Create target group.
Please go ahead and return to the previous tab.
Refresh the default action.
Now select the newly created target group from the drop down.
Scroll and click Create load balancer.
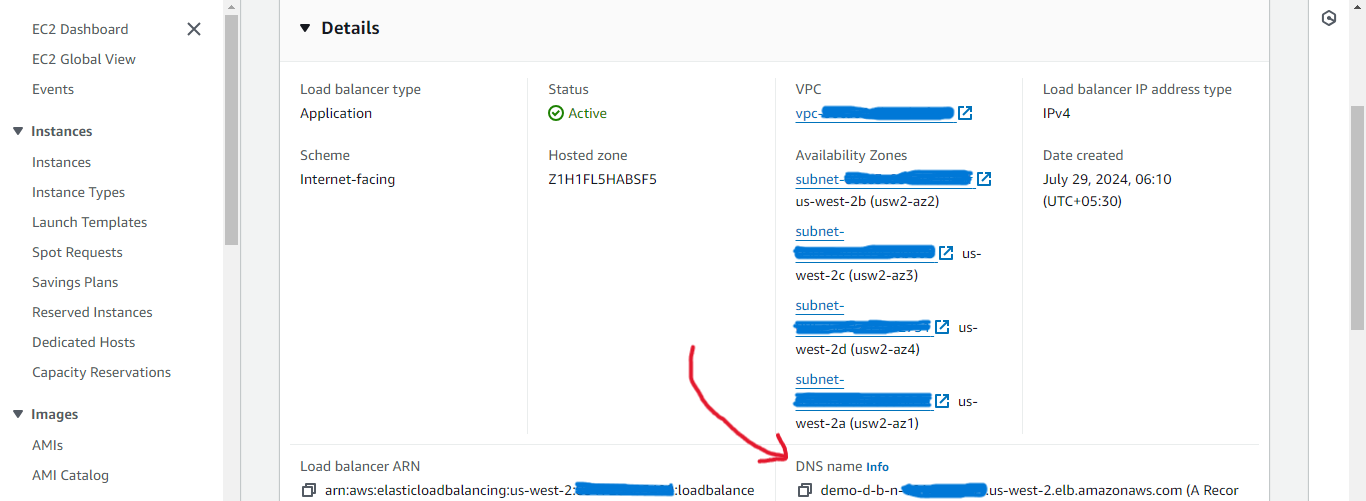
Wait while the status is not Active.
Now copy the DNS Name to access the hosted website.
The website will be accessed from any of the instances previously created.
To delete the Load balancers, select the load balancer -> Click Actions -> Delete load balancer -> type confirm -> Delete.
To delete the Target group, select the target group -> Click Actions -> Delete -> Click Yes, delete